Mar 20, 23
Website Services – Update March’23
Overview:
Welcome to the new Website Payments feature on your Billink Home Dashboard!
With the Website Payments service, you can now easily charge for various editable service types directly from your Billink dashboard. Whether it’s prescription ordering, admin requests, or other services, you can conveniently accept payments on your practice website by placing links to these services. You also have the option to send payment links via email or SMS to your patients.
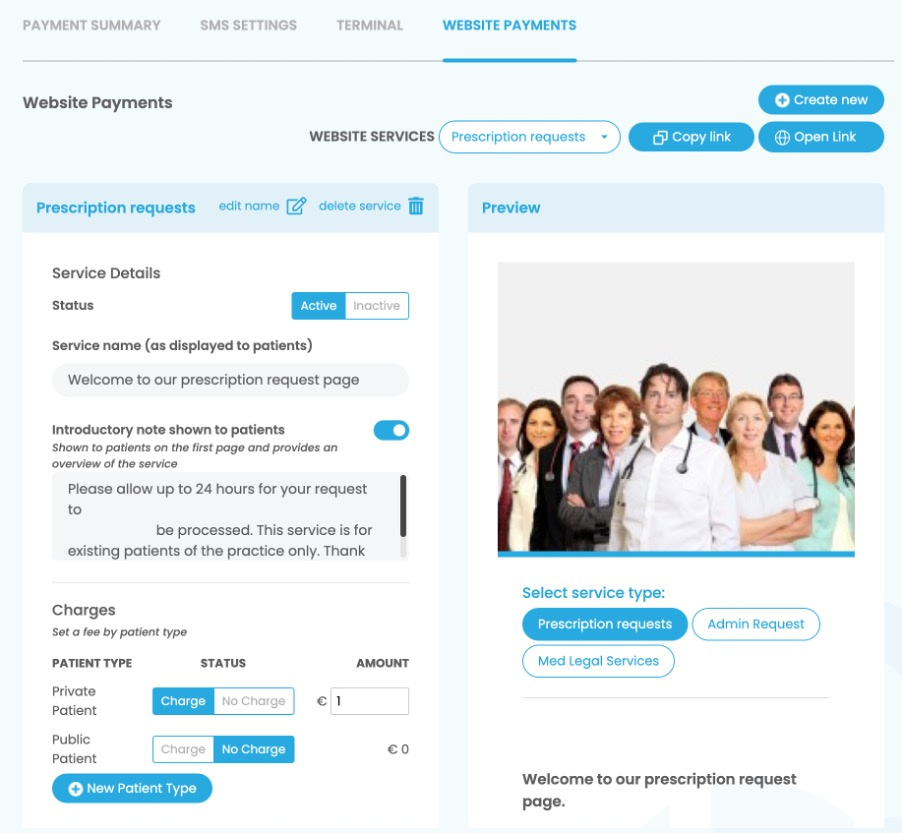
The website payments page is divided into three main sections:
- The header section where you can jump from service to service, create a new service, and copy links to these services.
- The left side of the screen where you edit the details for each service
- The right side of the screen where you see a preview of each service created. Note you can also preview a service at any time by clicking on the service link – just remember to save your changes each time!
By default we have created a ‘prescription request’ service for all practices using Billink. We will take each section and explain what it does.
Header Section
+ Create new:
Click this if you wanted to create another service – eg Admin Request
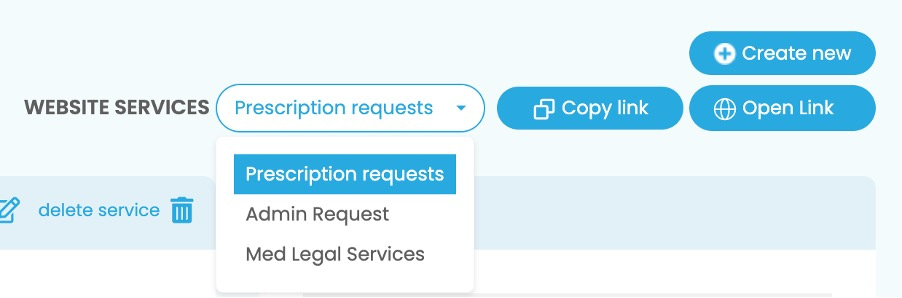
Website services drop down:
click here if you have more than one service created. In the example above this practice has 3 services so they can use this drop down to jump from Prescription requests to admin requests to med Legal services
Copy Link:
This will provide the website link to this service. Use this link to email/text to patients or move likely embed it into your own website or link to it from your own website. The copy link button opens the following screen
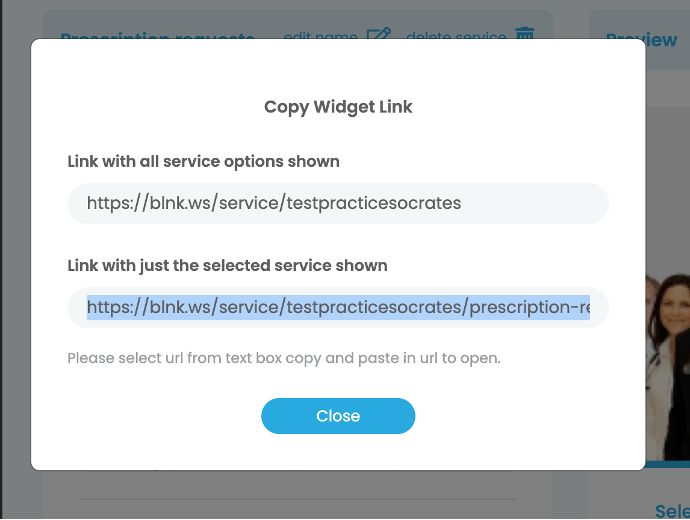
The first option you can copy will give you a link to the general website services screen for your practice. Eg if you have 3 services then this screen will link to a page that has all three listed. If you however want to link to a page with ONLY the prescription services listed and not the other services (as you may want to have this on another part of your website) then you can use the second address box shown on this screen.
Open link:
This just brings you to the general link to your website services. This is the same as copying the link mentioned above and pasting it into your web browser.
The left side section:

Edit Name:
Change the internal name for your service (the description of the service as it appears to you and your practice team).
Delete Service:
If you want to get rid of a service, perhaps you’ve created one by mistake – you can use this button. Note* You cannot delete a service that has been live and taken payment/transactions. If that you need to ‘inactivate’ a service as shown below.
Status: Active/Inactive:
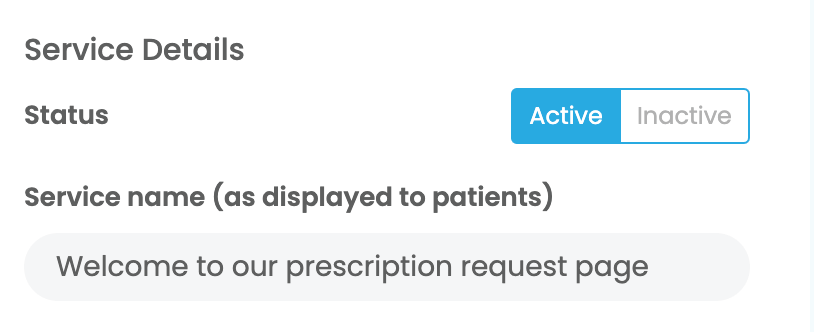
Inactivating a service means that it will no longer be shown to patients when they click your services link.
Service name (as displayed to patients):
This is the title/name shown on the dropdown for each service. You can change this and save at any time. Changes will be shown instantly on your general services page.
Introductory note shown to patients:
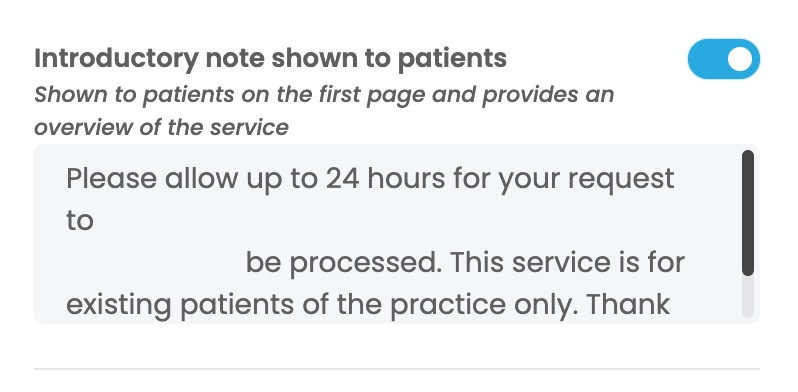
For each service you can chose to have a short note shown to patients before they proceed. For prescriptions this may inform them about how long a script might take to complete or for admin requests it may explain the types of requests that can be facilitated and which can not be. The blue toggle will turn on or hide this introductory note depending on your preference.
Charges:
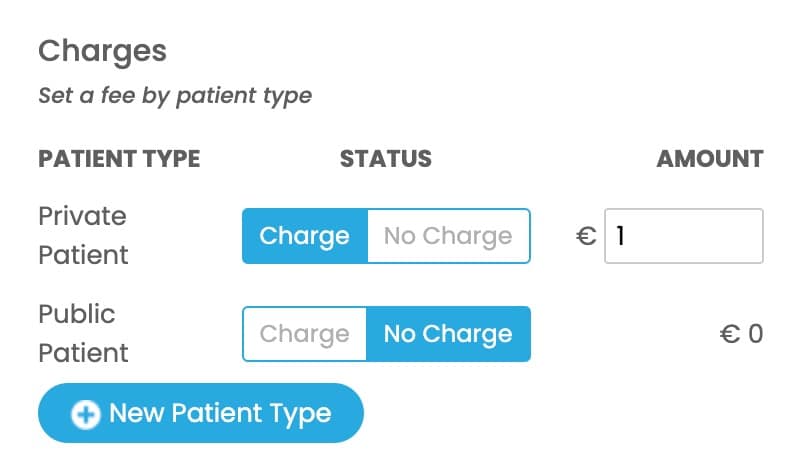
You can set any fee and patient charge type for your service. The default fee is €0. The default to patient types are Private and Public patients. You can add several more patient types to this list and make these specific for this website service. Eg ‘free contraceptive care’ patient type might be set on your prescription type. Or ‘student’ rate might be added as a patient type. You can set the fees then for each of these new patient types.
Ask patients for additional information:
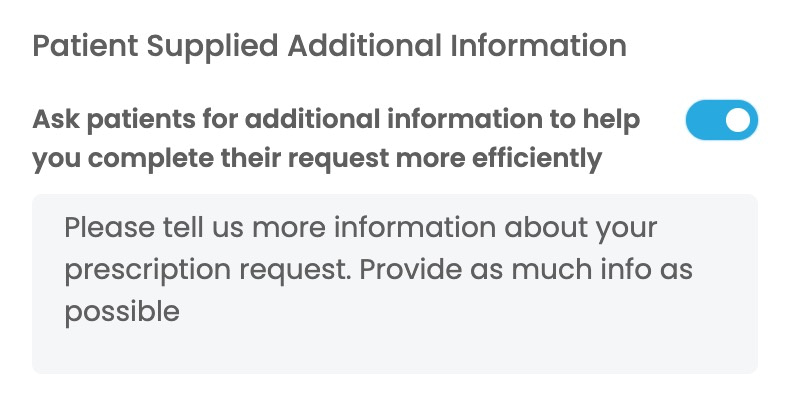
This text box can be made obligatory for patients / or not. Switching it on makes it obligatory. You can type your own text into this box to explain to patients what you expect to be typed in here.
Prescription request only features:
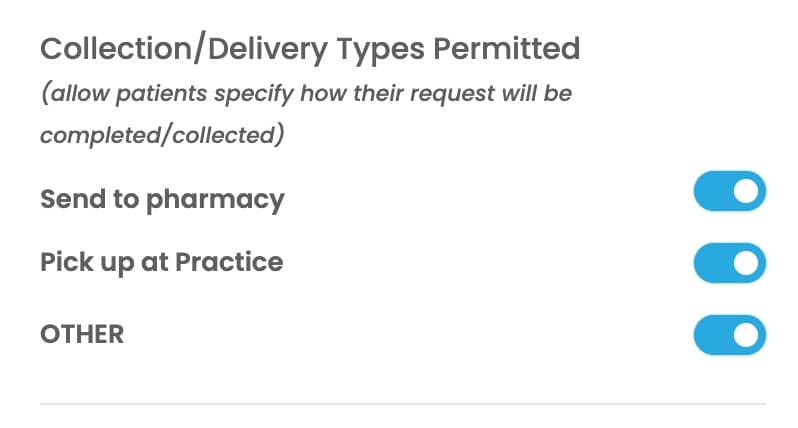
For prescriptions requests you can give patients an option to specify where they would like their script to be sent to. If you prefer to not give this choice you can opt to only have one of these options switched on. If the ‘send to pharmacy’ option is switched on – the patient will be asked to specify the pharmacy name. if the ‘other’ option is switched on – the patient will be asked to type in what this option is.
Optional/Obligatory Information:
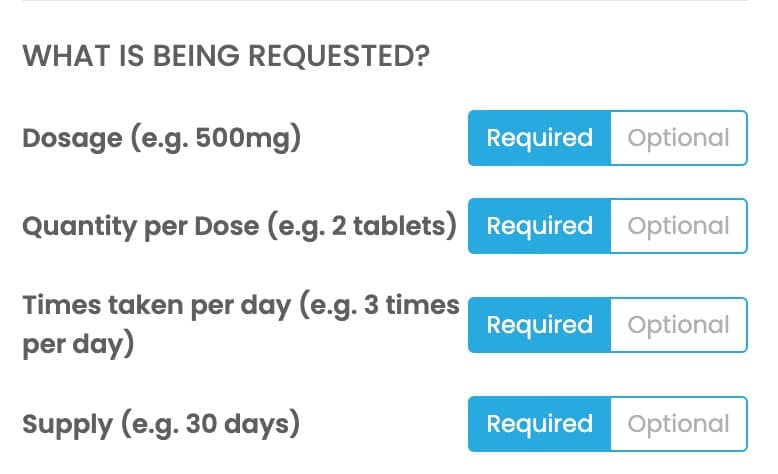
Patients will always be asked to specify the name of the medication that they are requesting however you can now opt to make the additional information now optional. If these are set to ‘required’ then patients cannot proceed in their ordering request without inputting values. If they are set as optional then patients can leave these fields blank.
Notification email:
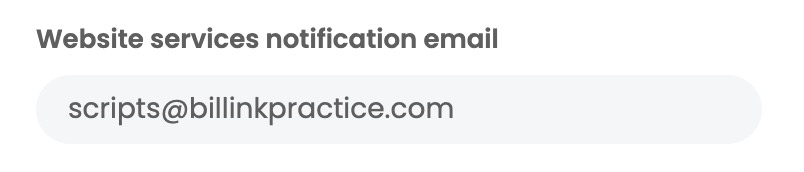
You can now set a notification by email to be sent to your preferred email address for any website service. Simply type in the email address you would like these requests to go to and a copy will be sent to this address. Note* you can use a different email address for each website service if you wish.
Save:

Remember to click the save button after any changes made to your website service. Changes will then instantly be updated to your payments page.
Video overview of Website Services
Founder ,
Billink Payments