Feb 26, 24
Partial Refunds
How to complete a partial refund
Until now, when a practice needed to complete a partial refund, you had the choice of either issuing a full refund and then charging the correct amount or reaching out to our support team to facilitate a partial refund. We know that neither of these solutions was ideal and promised we’d put in something to resolve this in our next update – thank you for sticking with us!
The Partial Refund Process
The new partial refund process mirrors the simplicity of the full refund process you’re already familiar with, but with the added flexibility to specify the amount that needs to be returned. Here’s a step-by-step guide to utilizing this feature effectively:
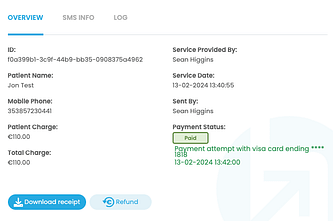
- Transaction Selection Begin by locating the original transaction and going to the transaction details page. This can be done through your usual workflow.

- Refund Initiation On the transaction details page, you’ll find the familiar ‘Refund’ button. Clicking this will now present you with new options.

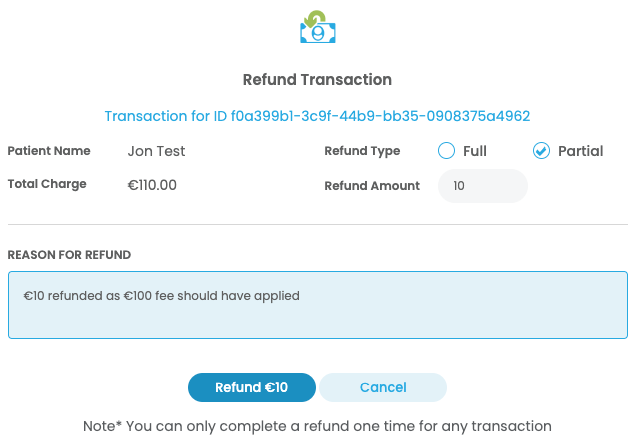
- Partial Refund Option Among the options, select ‘partial refund’. This will prompt you to enter the amount to be refunded and the reason for the refund. The reason for the refund is for your records.

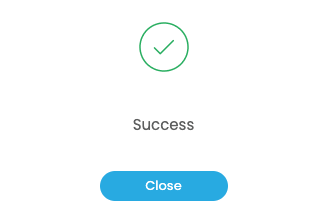
- Confirmation and Completion After entering the details, you’ll confirm the partial refund amount. A success message will appear, indicating the successful processing of the refund.

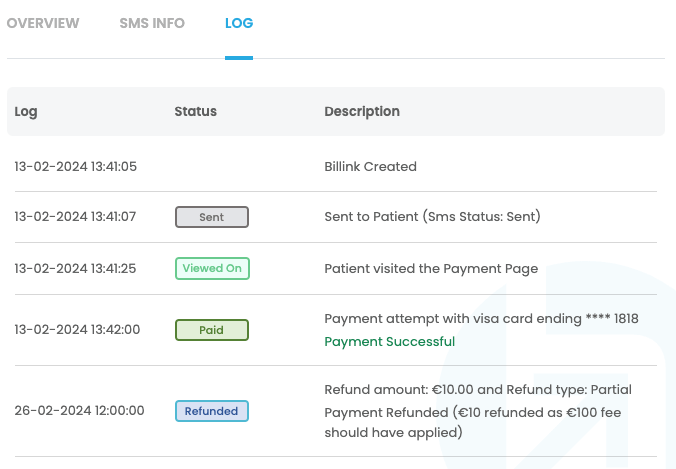
- Updated Transaction Status The transaction page will update to reflect the new ‘Refunded’ status.

- Detailed Refund Log For full transparency, clicking on the ‘refunded’ status icon will reveal the refund log. This includes all details pertinent to the refund, such as the last four digits of the card used and the refunded amount.

Hopefully this update will help streamline all refunds for you and your practice.


